|
| Installing the plexigalss squares |
|
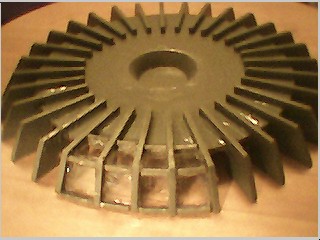
| In the picture above you'll notice the fussion core has been painted. Now comes the fun part. |
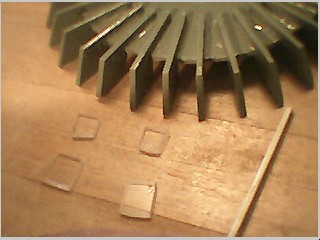
In order to install the plexiglass, I had to cut out little squares. Then I had to sand each piece untile they would fit
in between the fins. After that I glued them in. Each section takes 2 pieces of plexiglass, so 8 sections will take 16 pieces.
Because this is such a tedious job, I recommend that you maybe do 4 to 8 sections and then take a short break.
|
| As you can see four of the little sections of plexiglass have been glued in. |
|